Yearly Archives

5 Articles

Falcon

Studio Lighting On The Cheap: A Quick Overview

Posted by Jamie Woods on

As we’ve written about before, visualised radio is one heck of a way to connect with your audience through social media.

But making your studio look good on camera isn’t as easy as re-painting your studio and putting the cameras in good places – your lighting needs to not suck. Here’s some quick lighting advice that will make your radio studio look ten times better without investing in expensive studio lighting.

You can apply this without investing in any specialist lights if your studio has ceiling spotlights, as these can easily be re-angled.

Camera Colours

It’s probably a good idea to configure your studio cameras to have the same colour temperature and gain. The lower the gain, the less noisy the image will be.

Make sure that your colour temperature isn’t too warm or cool.

Light Positioning

The main thing is that you position your lights properly. You want some sort of light behind your presenters to avoid large shadows, and you’ll need a light on the presenters so that you can see them.

The most important thing is the vertical angle of the light, as you shouldn’t have it facing directly down onto a presenter – aim for a diagonal (45º is good). Instead, try angling the lights above one presenting position towards the other.

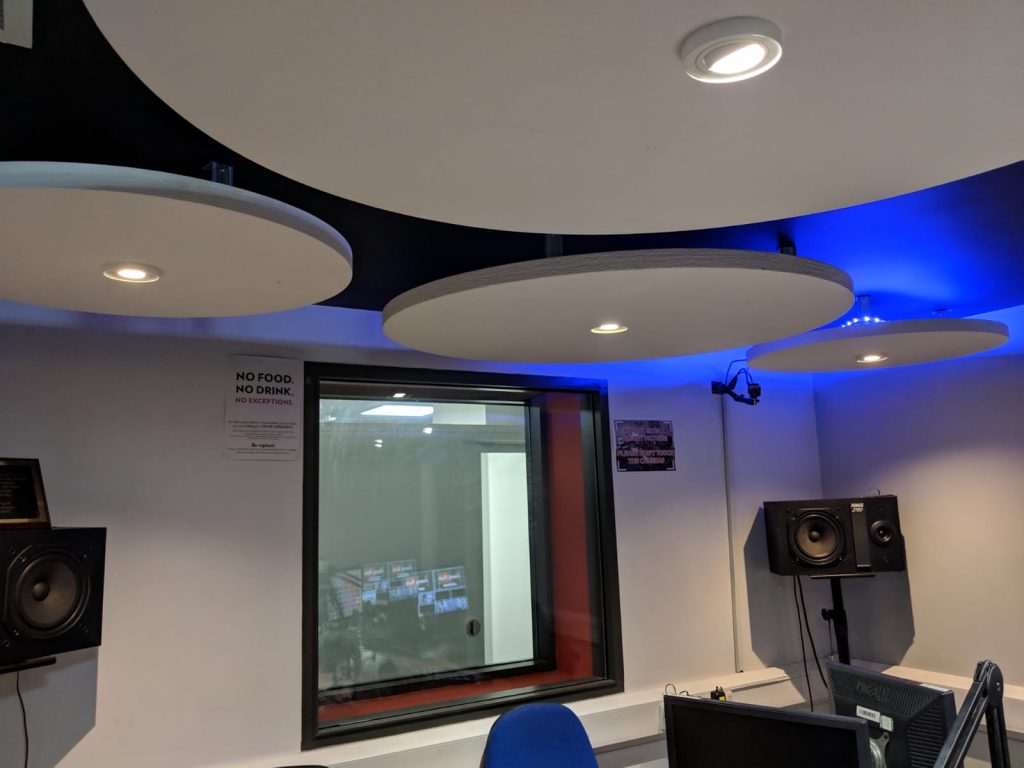
Our studio has spotlights. Many standard fitting lights allow you to angle the lamp. You can use this to point the lamp in a different direction.

If you can’t re-angle your lights, you can cheat and cut a piece of black plastic into a semi-circle and use this to direct light.

Lighting Colour

Remember that cameras capture images using three channels – red, green and blue. This is very different to what our eyes expect, so some lights will simply not look good on camera.

Fluorescent (and compact fluorescent) lamps only really emit a small range of colours, and tend to show up very green on camera.

Halogen lamps don’t emit much blue light, but by slightly adjusting the colour temperature you can somewhat compensate. You’ll still likely get a very warm image, which might not be what you expect.

White LED lamps produce light at a lot of different frequencies, and have a relatively good balance of colour. As you’d expect, cool LEDs produce more blue light than warm lamps, so depending on the feel of your studio/station choose wisely. Warmer LEDs, however, produce a lot of green light.

LEDs also have a good lifespan and are more environmentally friendly.

Comparison

Before we made these simple changes to our room lighting, our picture quality was very poor. It was hard to watch as the studio looked very pink, even with colour temperature adjustments on halogen bulbs. After swapping to cooler bulbs and re-angling lamps to direct light diagonally, the quality of picture increased dramatically.

Falcon/Online

Insanity At Reading – Visual OB Write-Up

Posted by Jamie Woods on
Insanity At Reading – Visual OB Write-Up

Insanity successfully undertook its first ever visualised radio Outside Broadcast. A joint effort between a hardworking studio and remote team, we managed to achieve something only previously done by the big national stations with flashy budgets. And it didn’t look too bad on air either.

Here’s how we did it.

Studio End – Receiving Content

Before we even started, we had to work out how possible it would be to ingest video from a remote site, and air it both on FM and on our online visual stream.

Luckily, we have a spare computer in our main studio. It’s powerful enough to receive and stream at the same time – great. We normally use this machine to receive outside broadcast content, so it has a mix-minus bus. To output video, we installed the Open Broadcaster Software (OBS) and Dual Monitor Tools.

A DisplayPort to HDMI converter allowed us to connect the OB1 machine to one of the HDMI inputs on the Blackmagic ATEM – which is how we broadcast our normal visual stream.

Dual Monitor Tools allowed us to lock the cursor to the left screen, which avoided any possibility of it appearing on the fake monitor.

OBS was also configured to individually stream to Facebook Live, allowing us to air our show on this platform without using our main studio programme feed (which contains copyrighted music). This allowed us to just broadcast the video inserts and playout with some royalty-free music.

OBS Setup

OBS was configured with 3 different scenes. These were:

  • Slate (and a clone, to allow editing of text)
  • Live
  • Video Tape

Live and Video Tape contain a VLC source. The live source is set to always be active, and is fed by the RTMP feed from remote. The slate is just an image.

The Video Tape scene is configured to play a video file, and will automatically restart/cue when the scene is made live. Frustratingly, it is not possible to get playback time information from OBS/VLC, so we had to rely on in/out cues.

OBS has the Stereo Tool plugin loaded, allowing us to process (as one) the return microphone feeds (there are five microphones). These are then mono summed before being outputted to the studio mixer. To use Stereo Tool as a VST, you need a license. The cheapest one is £30, and we’d definitely recommend the software as it’s fantastic. This is the preset that we used.

We set up Stereo Tool as a filter on the Live and Video Tape. Letting OBS process played-out audio instead of pre-processing it allowed us to speed up turnaround time of clips.

Festival End – Sending Content Back

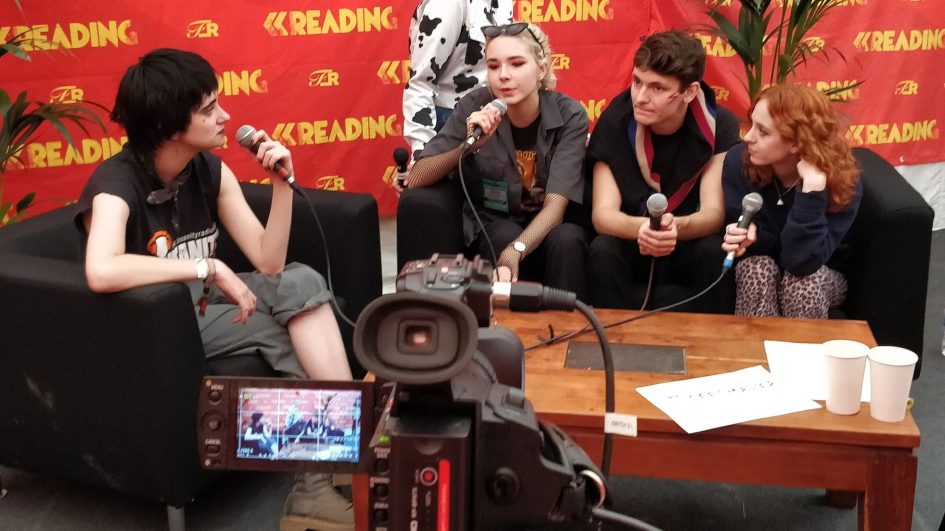
Interviews were recorded (1080p 35Mbps MPEG2/MXF), rendered into a package, and transmitted to the studio over the internet (encoded as a 4Mbps MP4 file). All pre-recorded content was played out from the studio end, so we’ll touch on that later.

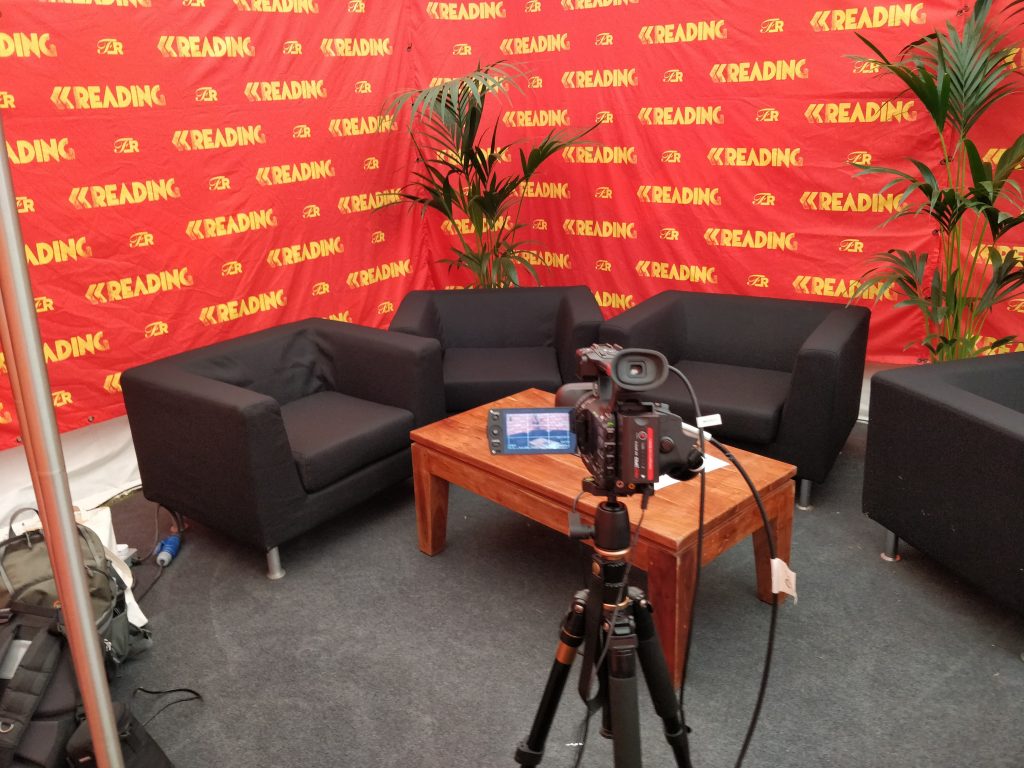
This was surprisingly straightforward. Massive thanks to Smoke Media who were able to loan us a HDMI camera, we’d otherwise have had to hack a smartphone.

A Teradek VidiU (although any RTMP sender could be used – this one happened to be small enough to fit comfortably inside our flight case) accepted a HDMI input from our camera, and output video to the server sitting back at our studio site at about 3Mbps. This was done over the public internet (Festival Republic provided us with a wired ethernet connection which provided us with a shaped 10 up 10 down connection).

Audio

A mixer was set-up with 6 microphone inputs from some SM58s, and the stereo output connected to the camera’s XLR inputs. The mixer’s second bus was used to send incoming talkback over Sennheiser belt packs to the presenter, although we didn’t really end up using this. The Stereo Tool on the studio end processed these microphone feeds to appropriate levels, to ensure it sounds good on air. Care was taken to ensure that the audio input has necessary headroom – the processing has AGC which would fix this in the studio. However, as we learnt, the analogue-to-digital audio converters on cameras are quite noisy, so don’t give yourself too much headroom.

This allowed us to send back audio and video over the same channel, in sync. Due to budgeting reasons, we didn’t have an alternative transmission path, but thankfully as we were not broadcasting all content from site this was not as big an issue as it could have been.
Playing Out Interviews

We ended up using MEGA to send back MP4s from the festival. The audio on these is unprocessed (so you’d average about -30 dB during speech, depending on how far away guests would hold the microphone), but was edited remotely to ensure that any bad language was cut.

Sadly, no radio playout software that we are aware of/is affordable can also play out video content, so we could not rely on automation to air this content. Darn.

OBS allowed us to insert interviews into a scene (which was then streamed as well as input to the studio), and not loop them so that we could manage playout. As a result, the studio operator could cut from the live feed to the playout feed when given the cue by our presenter. OBS doesn’t provide timers for its media players, however, so we had to rely on known out-cues from clips to out segue. However, it seems possible that we could develop an OBS plugin in the future that does exactly this.

Some continuity inserts were pre-recorded in a similar way, as we really wanted to see a live band during the same time as the broadcast.

OBS does not have any media/asset management system, which made it more complicated than should be necessary to load in content for playing out. We could have created multiple scenes to do this, but if anything needed changing we would have had to duplicate these changes by hand in every scene.

The Actual Running

It was a bit hectic. We had several people unfortunately pull out from being able to assist in the studio, but it all got sorted in the end.

Some interviews were recorded 15 minutes before they were due to air (for various admin reasons, we couldn’t air the interviews live), so overall it was in some cases relatively stressful to quickly chop up video, edit audio for language, encode/render, and load this into playout. This was mostly done using ffmpeg on the command line, as we don’t have a license for Adobe Premiere or other video editing software.

For YouTube, audio is loaded into Reaper, processed with Stereo Tool (although we do have an internal web-based tool for this now), and then re-attached to the video. No re-encode necessary.

Phew.

Next year, anyone?
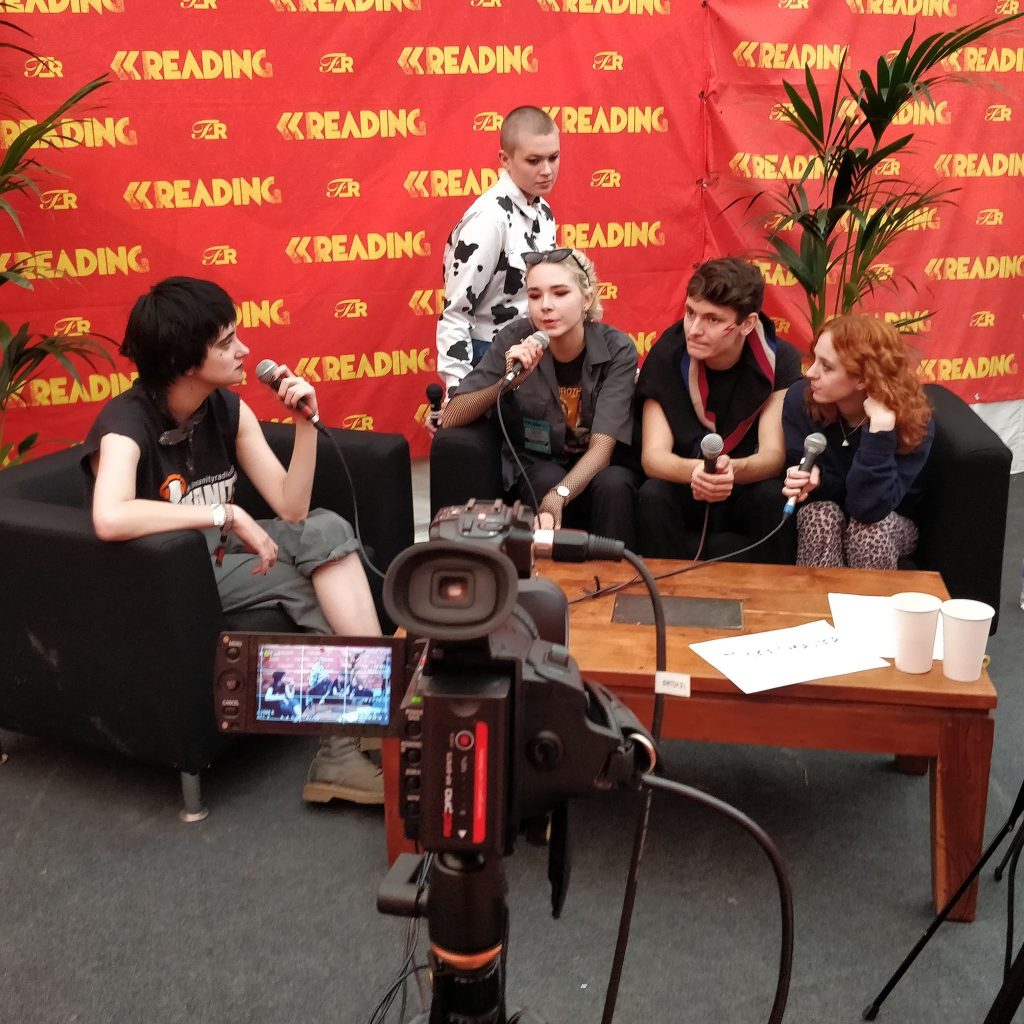
We couldn’t have done this without the help of some fantastic organisations. Special thanks to Festival Republic and LD Communications, for allowing us to do this, to Smoke Media, for letting us pinch a HDMI cam, rhubarbTV, for the video encoder, and to BBC R&D, just for being fantastic.
Falcon

Visual Radio Metapost: Looking Back

Posted by Jamie Woods on

This year, Insanity launched its visual platform – mostly to showcase how radio can be professionally visualised on a shoestring budget.

This post aims to solve some of the less technical problems with launching a visual radio platform, and how we solved them.


When To Stream

Big question: when do you have the cameras on? In fact, it’s not so simple. Don’t forget that with visual radio you have lots of different platforms to stream on.

For us, we almost always stream on our website. As we don’t market this stream extensively, it doesn’t subtract from the impact of the platform.

For special events, we stream on Facebook and YouTube. Facebook draws our biggest audience engagement figures, as you can already target your audience as they’ve probably liked your page.


Licensing Woes

This was the biggest issue for us.

Community radio in the UK, like all other stations, have PRS and PPL licenses to cover music streaming, both on terrestrial, and online. The wording of these license terms is very vague, but our interpretation is that a visualised radio stream, with the original station audio, counts as a simulcast. The only downside is that this limits our distribution on third party platforms – when we do, we need to be very careful not to include music. As long as you have some factor of control (even if that’s just the ability to start or stop your stream) over the platform you’re broadcasting on, you are probably within terms of the license.

Although the services we stream on have music licenses of their own, automated filters are unforgiving and overzealous.

But on-demand, we can completely avoid that issue, as per our social media guidelines, OD content should ideally be one link or idea.

(Remember, we are not your lawyers – please seek legal advice on the terms of your music licensing contract if you’re unsure!)


Getting The Presenters Onboard

Not everyone wants to live stream their show. During the first scheduling term after launch, about ten of our hundred shows decided not to stream themselves on the platform. After a few months, that number dropped to one.

Remember, the radio studio isn’t becoming a TV studio – there’s no pressure on looking amazing on camera.

With the rise of social media, video has become the online first-class content – not audio. Providing just something to go with that audio is exactly what visual radio is about.

Docker

Dockerizing Radio: AudioEngine

Posted by Jamie Woods on

It’s been known for a while that Docker, and containers in general, are slowly creeping into IT infrastructures.

Research shows they are stable enough to use exclusively in production – so why don’t we hop on the bandwagon for radio?

Insanity Tech is developing AudioEngine – a collection of scripts and utilities for virtualising a radio station’s streaming stack. We’ve just released v0.1.0-alpha, as a proof of concept.

To get started, install Ruby, Docker and docker-compose on a server, and clone https://github.com/InsanityRadio/AudioEngine.git.

Create and config.yml (from config.yml.dist). Insert your configuration, and run ruby scripts/build_config to build the docker-compose configuration. Then you can build and launch your streaming system.

Not bad, huh?

The development code is up on GitHub, and developers are, as always, invited to contribute.

Uncategorized

Compiling nchan on Ubuntu 14.04

Posted by Jamie Woods on

If you’re using Ubuntu 14.04, and want to compile a version of the nginx nchan module that works with Redis, this is the guide for you. This is useful if you want to install security updates without recompiling nginx from scratch every time.

  1. Install the nginx PPA for your system: sudo add-apt-repository ppa:nginx/stable && sudo apt-get update
  2. Install nginx from the PPA: sudo apt-get install build-essential nginx-full libnginx-mod-nchan libpcre3-dev libxml2-dev libxslt-dev libgeoip-dev
  3. This’ll install an old version of nchan, but it will install most of the dependencies that we need.
  4. Test the new nginx version to make sure it works. As we’ve just installed a different version, we might have caused some compatibility issues compared to the standard one (i.e. what’s in the normal repositories)
  5. cd /tmp. Download and unpack the nginx we have installed
    wget http://nginx.org/download/nginx-$(nginx -v 2>&1 | cut -d "/" -f 2).zip && unzip nginx*
    wget https://github.com/slact/nchan/archive/v1.1.14.tar.gz && tar -xf v1.1.14.tar.gz
  6. Change directory to nginx. Run configure with the following:
    ./configure --add-dynamic-module=../nchan-1.1.14 --with-cc-opt='-g -O2 -fPIE -fstack-protector --param=ssp-buffer-size=4 -Wformat -Werror=format-security -fPIC -D_FORTIFY_SOURCE=2' --with-ld-opt='-Wl,-Bsymbolic-functions -fPIE -pie -Wl,-z,relro -Wl,-z,now -fPIC' --prefix=/usr/share/nginx --conf-path=/etc/nginx/nginx.conf --http-log-path=/var/log/nginx/access.log --error-log-path=/var/log/nginx/error.log --lock-path=/var/lock/nginx.lock --pid-path=/run/nginx.pid --modules-path=/usr/lib/nginx/modules --http-client-body-temp-path=/var/lib/nginx/body --http-fastcgi-temp-path=/var/lib/nginx/fastcgi --http-proxy-temp-path=/var/lib/nginx/proxy --http-scgi-temp-path=/var/lib/nginx/scgi --http-uwsgi-temp-path=/var/lib/nginx/uwsgi --with-debug --with-pcre-jit --with-http_ssl_module --with-http_stub_status_module --with-http_realip_module --with-http_auth_request_module --with-http_v2_module --with-http_dav_module --with-http_slice_module --with-threads --with-http_addition_module --with-http_geoip_module=dynamic --with-http_gunzip_module --with-http_gzip_static_module --with-http_image_filter_module=dynamic --with-http_sub_module --with-http_xslt_module=dynamic --with-stream=dynamic --with-stream_ssl_module --with-stream_ssl_preread_module --with-mail=dynamic --with-mail_ssl_module
  7. Run make modules
  8. Copy objs/ngx_nchan_module.so to /usr/lib/nginx/modules/ngx_nchan_module_new.so.
  9. Rename /etc/nginx/modules-enabled/50-mod-nchan.conf to 50-mod-nchan-new.conf, edit it, and change ngx_nchan_module.so to ngx_nchan_module_new.so.
  10. Run nginx -t to test that it installed OK.
  11. Restart nginx. Done!