Insanity At Reading – Visual OB Write-Up
Insanity successfully undertook its first ever visualised radio Outside Broadcast. A joint effort between a hardworking studio and remote team, we managed to achieve something only previously done by the big national stations with flashy budgets. And it didn’t look too bad on air either.
Here’s how we did it.
Studio End – Receiving Content
Before we even started, we had to work out how possible it would be to ingest video from a remote site, and air it both on FM and on our online visual stream.
Luckily, we have a spare computer in our main studio. It’s powerful enough to receive and stream at the same time – great. We normally use this machine to receive outside broadcast content, so it has a mix-minus bus. To output video, we installed the Open Broadcaster Software (OBS) and Dual Monitor Tools.
A DisplayPort to HDMI converter allowed us to connect the OB1 machine to one of the HDMI inputs on the Blackmagic ATEM – which is how we broadcast our normal visual stream.
Dual Monitor Tools allowed us to lock the cursor to the left screen, which avoided any possibility of it appearing on the fake monitor.
OBS was also configured to individually stream to Facebook Live, allowing us to air our show on this platform without using our main studio programme feed (which contains copyrighted music). This allowed us to just broadcast the video inserts and playout with some royalty-free music.
OBS Setup
OBS was configured with 3 different scenes. These were:
- Slate (and a clone, to allow editing of text)
- Live
- Video Tape
Live and Video Tape contain a VLC source. The live source is set to always be active, and is fed by the RTMP feed from remote. The slate is just an image.
The Video Tape scene is configured to play a video file, and will automatically restart/cue when the scene is made live. Frustratingly, it is not possible to get playback time information from OBS/VLC, so we had to rely on in/out cues.
OBS has the Stereo Tool plugin loaded, allowing us to process (as one) the return microphone feeds (there are five microphones). These are then mono summed before being outputted to the studio mixer. To use Stereo Tool as a VST, you need a license. The cheapest one is £30, and we’d definitely recommend the software as it’s fantastic. This is the preset that we used.
We set up Stereo Tool as a filter on the Live and Video Tape. Letting OBS process played-out audio instead of pre-processing it allowed us to speed up turnaround time of clips.
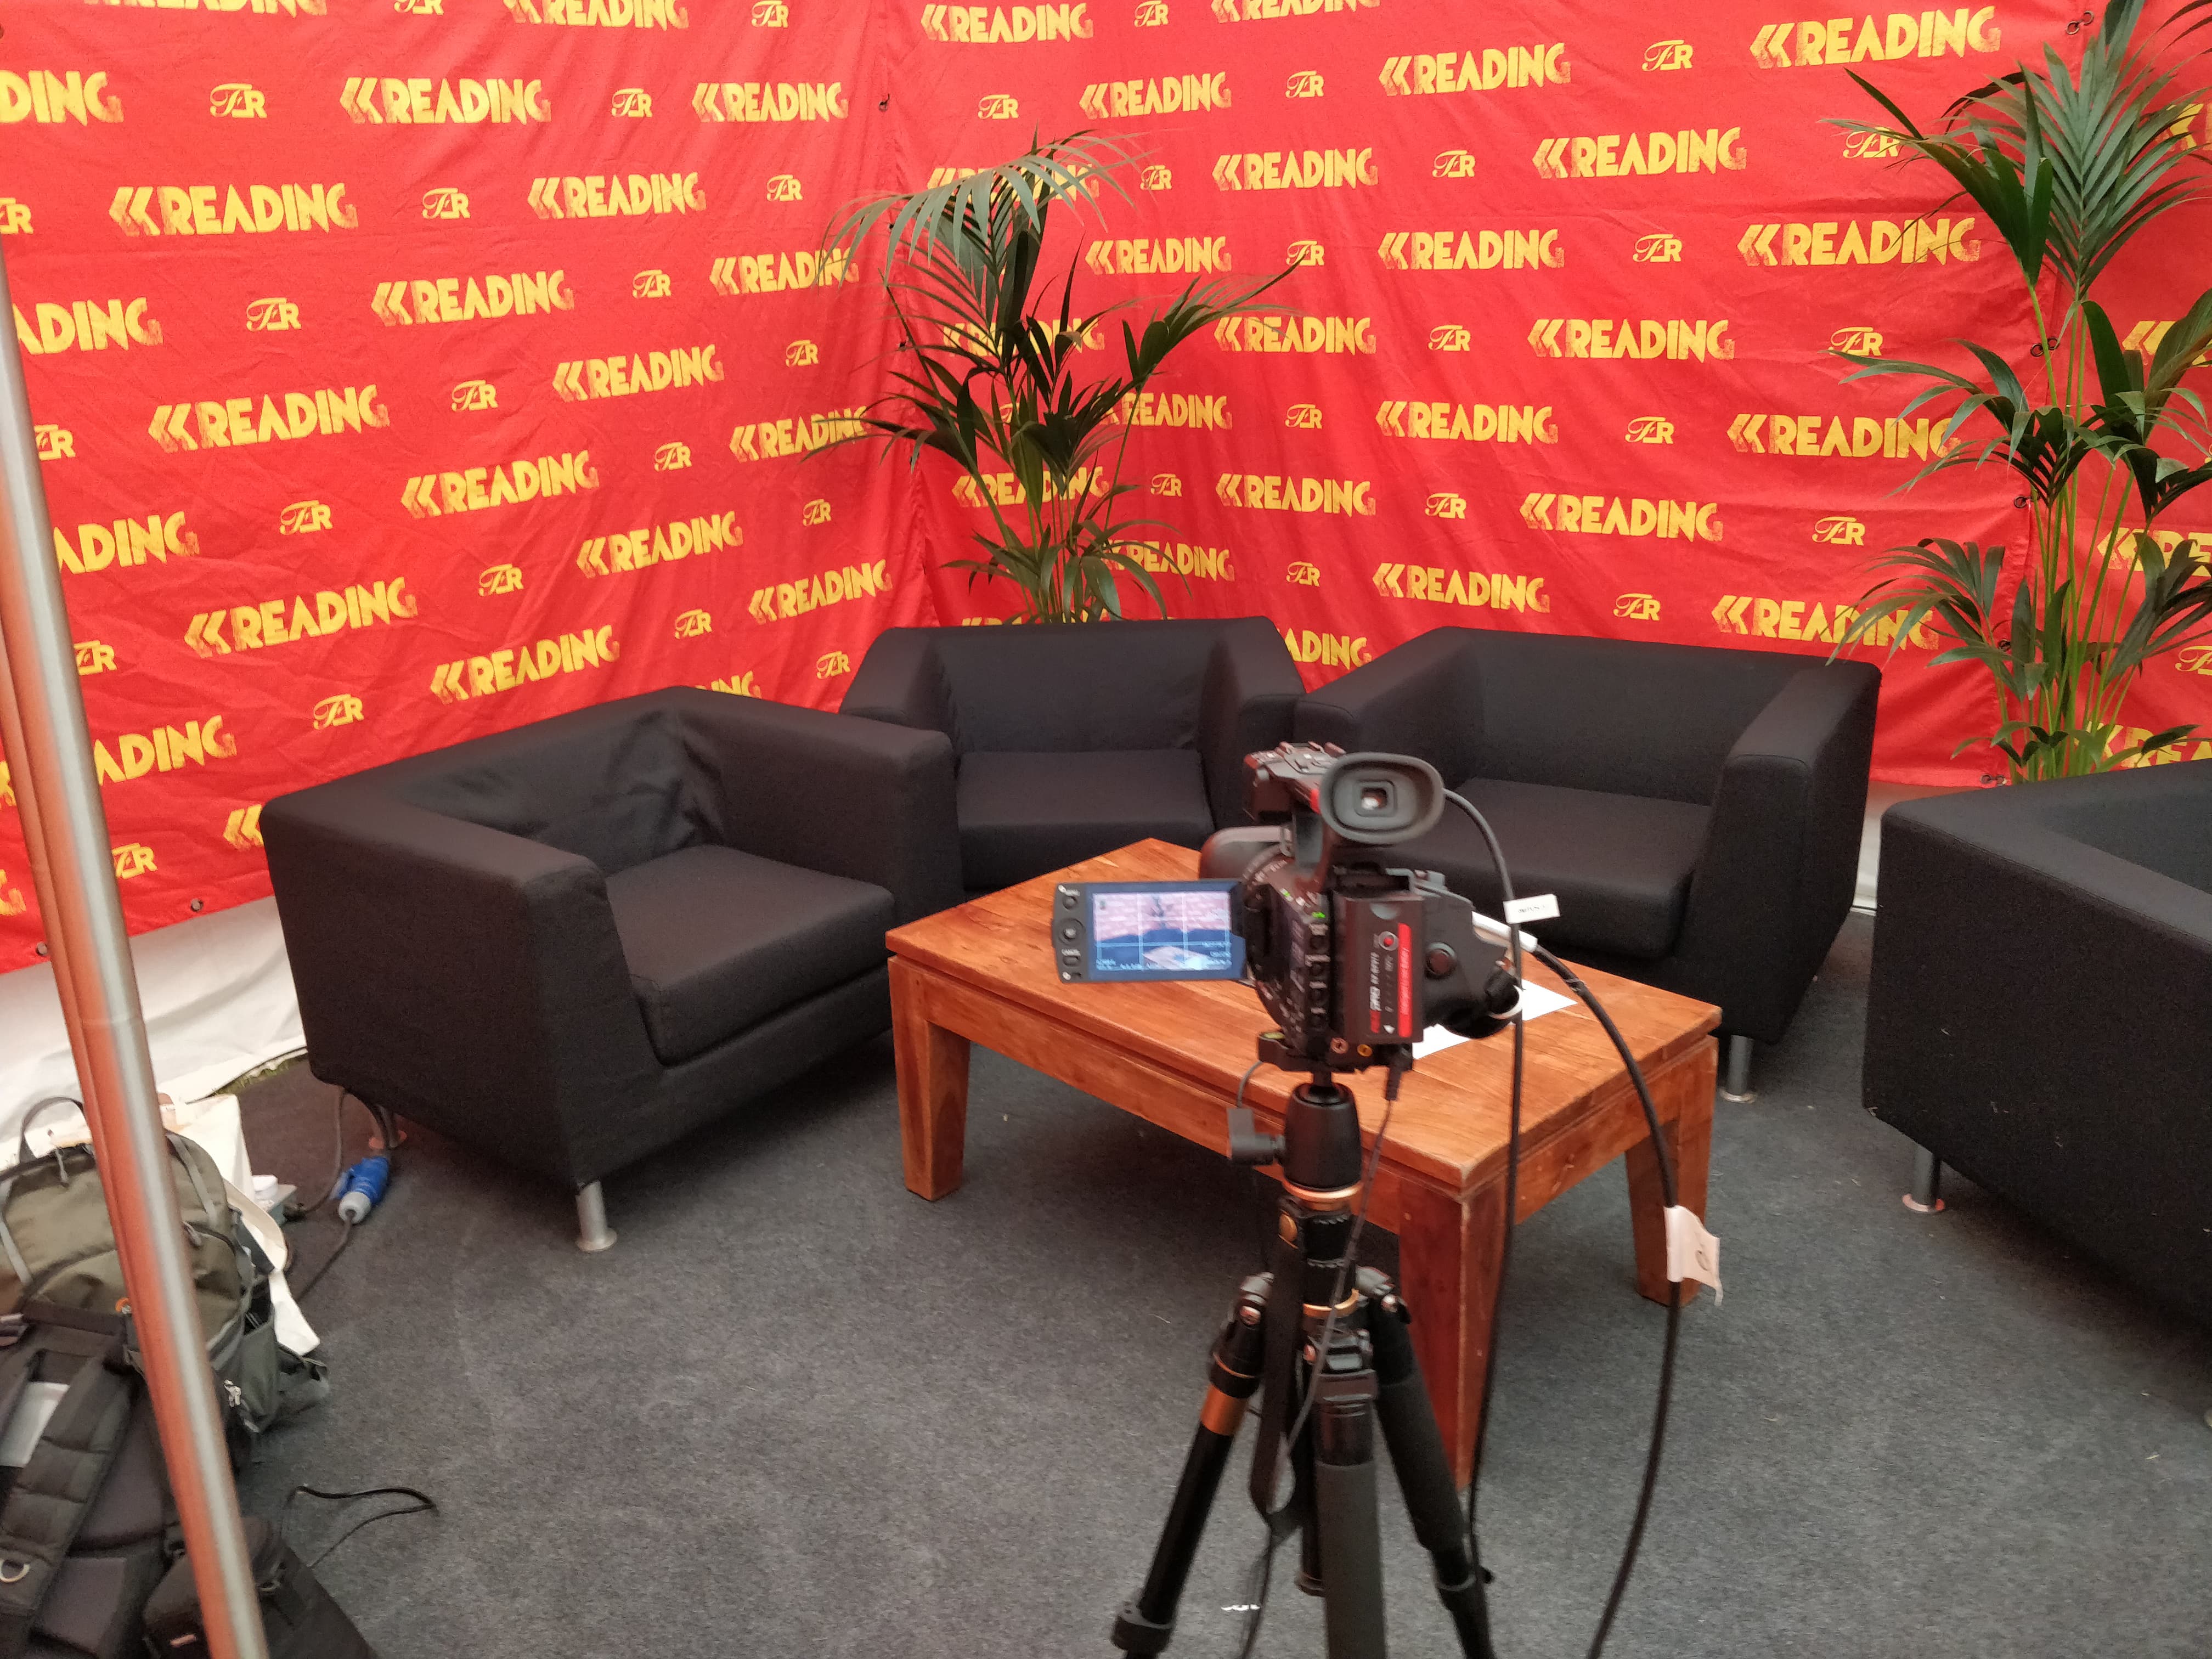
Festival End – Sending Content Back
Interviews were recorded (1080p 35Mbps MPEG2/MXF), rendered into a package, and transmitted to the studio over the internet (encoded as a 4Mbps MP4 file). All pre-recorded content was played out from the studio end, so we’ll touch on that later.
This was surprisingly straightforward. Massive thanks to Smoke Media who were able to loan us a HDMI camera, we’d otherwise have had to hack a smartphone.
A Teradek VidiU (although any RTMP sender could be used – this one happened to be small enough to fit comfortably inside our flight case) accepted a HDMI input from our camera, and output video to the server sitting back at our studio site at about 3Mbps. This was done over the public internet (Festival Republic provided us with a wired ethernet connection which provided us with a shaped 10 up 10 down connection).
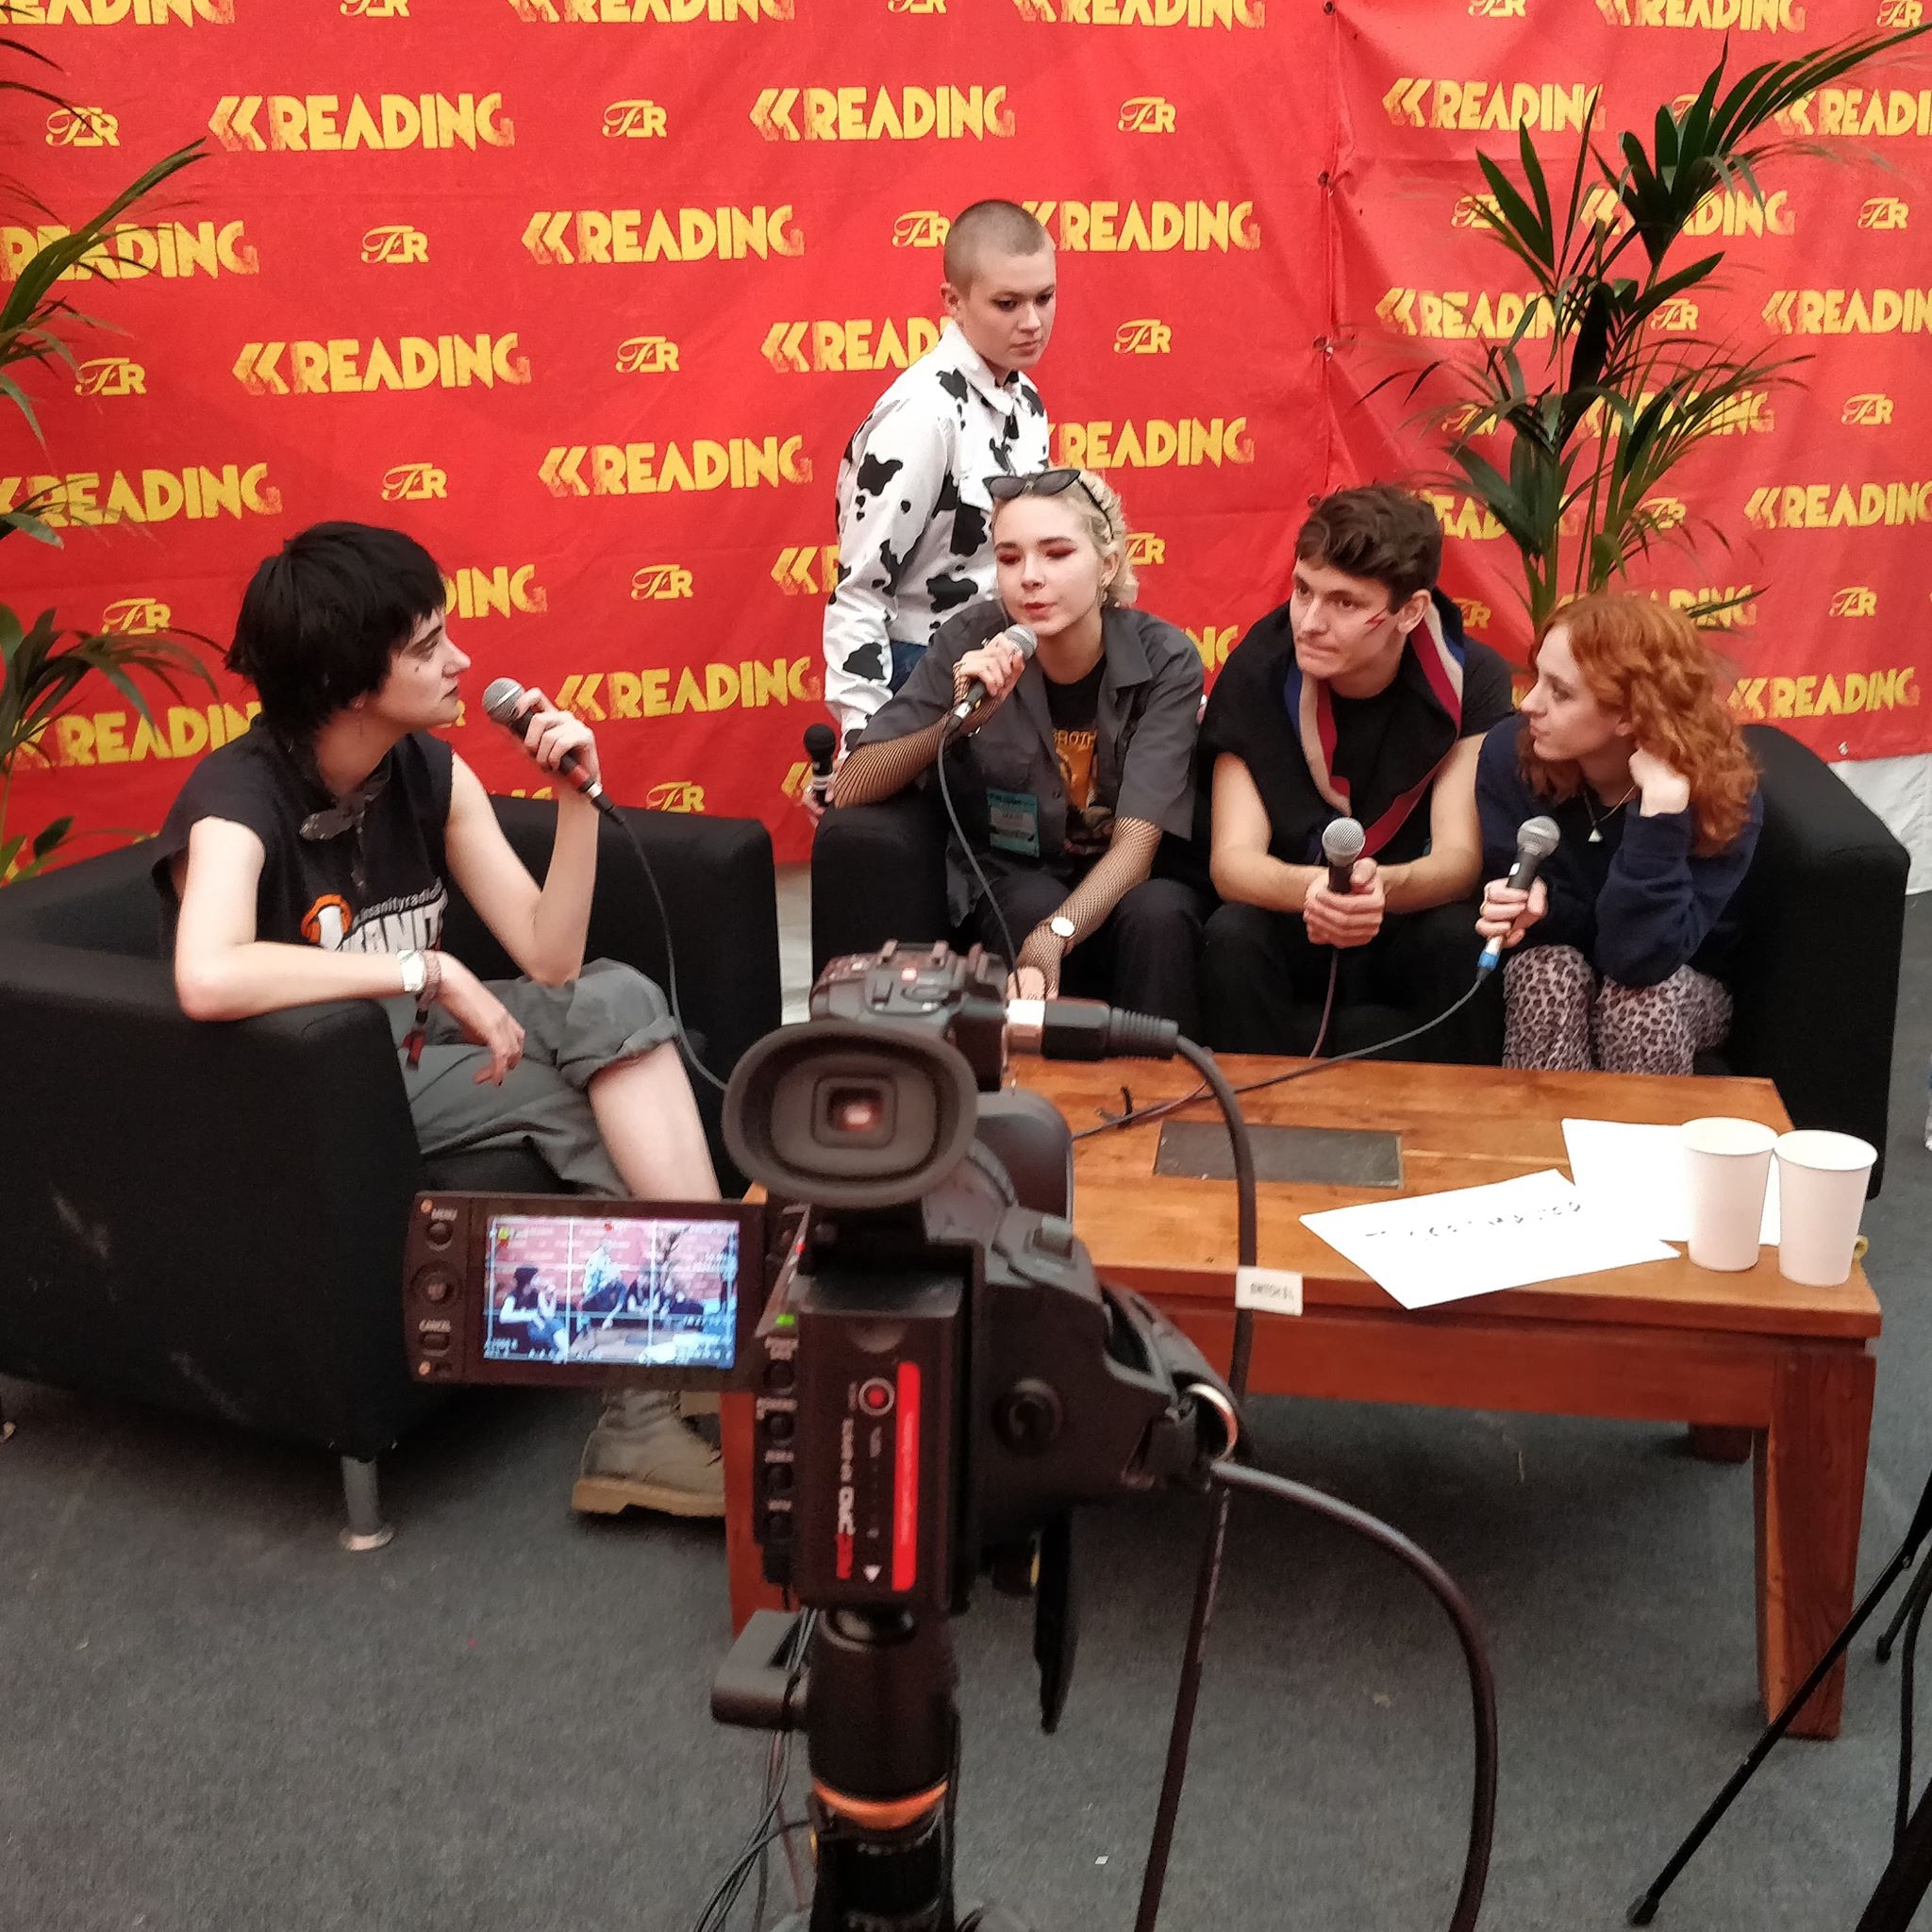
Audio
A mixer was set-up with 6 microphone inputs from some SM58s, and the stereo output connected to the camera’s XLR inputs. The mixer’s second bus was used to send incoming talkback over Sennheiser belt packs to the presenter, although we didn’t really end up using this. The Stereo Tool on the studio end processed these microphone feeds to appropriate levels, to ensure it sounds good on air. Care was taken to ensure that the audio input has necessary headroom – the processing has AGC which would fix this in the studio. However, as we learnt, the analogue-to-digital audio converters on cameras are quite noisy, so don’t give yourself too much headroom.
This allowed us to send back audio and video over the same channel, in sync. Due to budgeting reasons, we didn’t have an alternative transmission path, but thankfully as we were not broadcasting all content from site this was not as big an issue as it could have been.
Playing Out Interviews
We ended up using MEGA to send back MP4s from the festival. The audio on these is unprocessed (so you’d average about -30 dB during speech, depending on how far away guests would hold the microphone), but was edited remotely to ensure that any bad language was cut.
Sadly, no radio playout software that we are aware of/is affordable can also play out video content, so we could not rely on automation to air this content. Darn.
OBS allowed us to insert interviews into a scene (which was then streamed as well as input to the studio), and not loop them so that we could manage playout. As a result, the studio operator could cut from the live feed to the playout feed when given the cue by our presenter. OBS doesn’t provide timers for its media players, however, so we had to rely on known out-cues from clips to out segue. However, it seems possible that we could develop an OBS plugin in the future that does exactly this.
Some continuity inserts were pre-recorded in a similar way, as we really wanted to see a live band during the same time as the broadcast.
OBS does not have any media/asset management system, which made it more complicated than should be necessary to load in content for playing out. We could have created multiple scenes to do this, but if anything needed changing we would have had to duplicate these changes by hand in every scene.
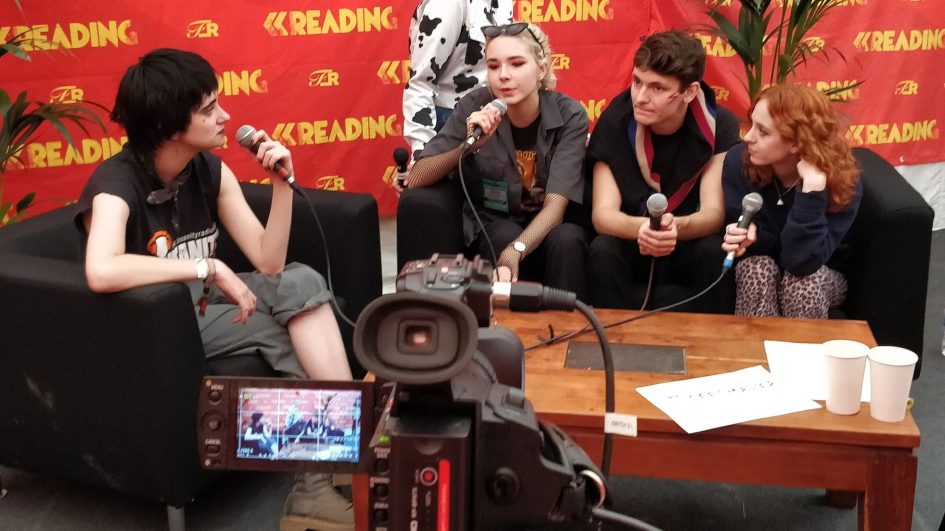
The Actual Running
It was a bit hectic. We had several people unfortunately pull out from being able to assist in the studio, but it all got sorted in the end.
Some interviews were recorded 15 minutes before they were due to air (for various admin reasons, we couldn’t air the interviews live), so overall it was in some cases relatively stressful to quickly chop up video, edit audio for language, encode/render, and load this into playout. This was mostly done using ffmpeg on the command line, as we don’t have a license for Adobe Premiere or other video editing software.
For YouTube, audio is loaded into Reaper, processed with Stereo Tool (although we do have an internal web-based tool for this now), and then re-attached to the video. No re-encode necessary.
Phew.
Next year, anyone?
We couldn’t have done this without the help of some fantastic organisations. Special thanks to Festival Republic and LD Communications, for allowing us to do this, to Smoke Media, for letting us pinch a HDMI cam, rhubarbTV, for the video encoder, and to BBC R&D, just for being fantastic.